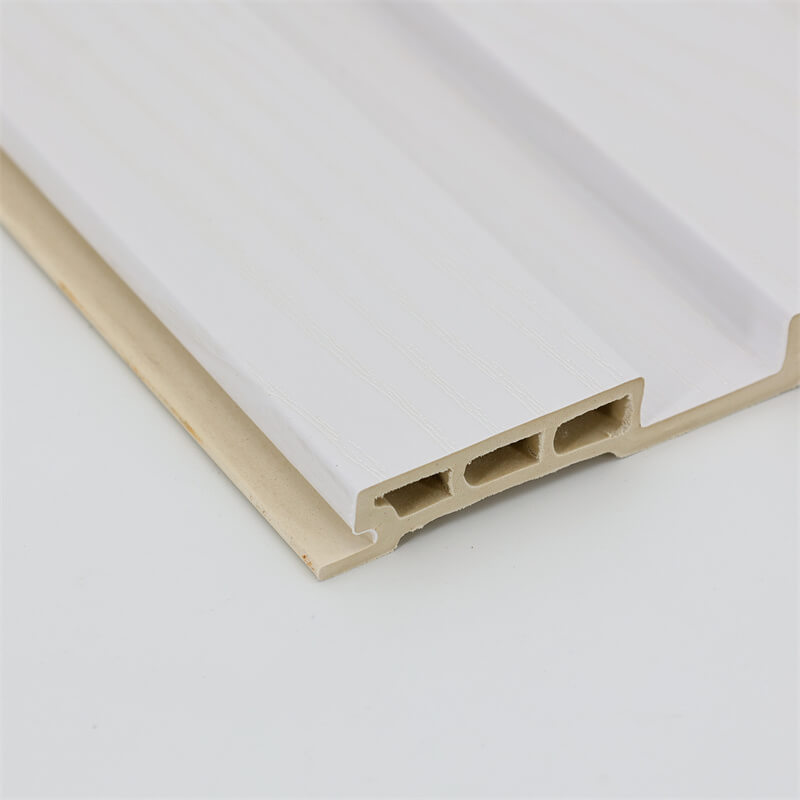
WPC (Wood-Plastic Composite) panels have become a popular choice for homeowners and builders alike due to their durability, versatility, and aesthetic appeal.
Whether you’re renovating your home or working on a commercial project, proper installation is key to achieving a seamless finish with WPC panels.
In this article, we will explore essential tips and techniques for installing WPC panels to ensure a professional-looking result.
From preparing the surface to securing the panels and applying finishing touches, we will guide you through the installation process step by step.
By following these guidelines, you can achieve a flawless installation that maximizes the beauty and longevity of your WPC panels.
I. Preparing the Surface: The Foundation for a Successful Installation
Before installing WPC panels, it is crucial to properly prepare the surface to ensure a secure and long-lasting bond.
Here are some key steps to follow:
Clean the surface: Remove any dust, dirt, or debris from the installation area using a broom or vacuum cleaner.
A clean surface will promote better adhesion and prevent imperfections.
Level the surface: Ensure that the installation area is level and even.
If there are any uneven areas, use a leveling compound or self-leveling underlayment to create a smooth base for the panels.
Moisture barrier: Depending on the location of the installation, consider applying a moisture barrier to prevent any potential moisture-related issues.
This step is particularly important for installations in basements or areas prone to moisture.

II. Panel Placement and Alignment: Achieving a Seamless Look
Once the surface is prepared, it’s time to start placing and aligning the WPC panels.
Follow these tips for a seamless installation:
Measure and plan: Before cutting any panels, measure the installation area and plan the layout.
Take into account any corners, edges, or obstacles to ensure accurate cuts and minimal waste.
Start from a reference point: Begin the installation from a reference point, such as a straight wall or the center of the room, to ensure a symmetrical and balanced look.
Use a chalk line or a laser level to mark a straight guideline.
Leave expansion gaps: WPC panels may expand and contract with changes in temperature and humidity.
To accommodate this movement, leave a small expansion gap (usually around 1/4 inch) between panels and adjacent surfaces, such as walls or doorways.
Use adhesive or fasteners: Depending on the manufacturer’s recommendations, apply adhesive or use appropriate fasteners to secure the panels to the surface.
Follow the manufacturer’s instructions regarding the type of adhesive or fasteners to use and the recommended spacing.
III. Finishing Touches: Enhancing the Aesthetics and Durability
To achieve a polished and professional finish, pay attention to the following finishing touches:
Trim and molding: Install trim or molding around the edges of the WPC panels to provide a clean and finished look.
Choose trim that complements the style of the panels and ensures a smooth transition between the panels and adjacent surfaces.
Sealing and caulking: Depending on the specific WPC panels you’re using, consider applying a sealant or caulk to the edges and joints to prevent moisture penetration and enhance the overall durability of the installation.
Cleaning and maintenance: Once the installation is complete, clean the WPC panels thoroughly to remove any adhesive residue or dust.
Follow the manufacturer’s guidelines for cleaning and maintenance to ensure the panels’ longevity and preserve their aesthetic appeal.

IV. Seeking Professional Help: When in Doubt, Consult the Experts
While installing WPC panels can be a rewarding DIY project, it’s important to recognize your limitations.
If you’re unsure about any aspect of the installation process or if you’re dealing with complex architectural features, it’s wise to seek professional help.
Experienced contractors or installers can provide valuable insights, ensure proper installation, and save you time and effort in the long run.
Proper installation is essential to achieving a seamless finish with WPC panels.
By following the tips and techniques outlined in this article, you can ensure a successful and professional-looking installation that maximizes the beauty and longevity of your WPC panels.
Remember to prepare the surface, plan the layout, secure the panels properly, and pay attention to the finishing touches.
Whether you’re working on a residential or commercial project, a well-installed WPC panel system will enhance the aesthetics, durability, and value of your space for years to come.
